The first thing I do is read through the book and make a little thumbnail diagram of it. These are just doodles where I try to get an idea of what characters are on a page and what they are doing. (click to enlarge)
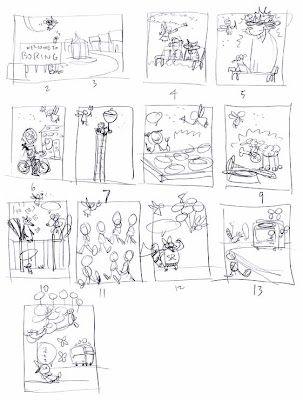
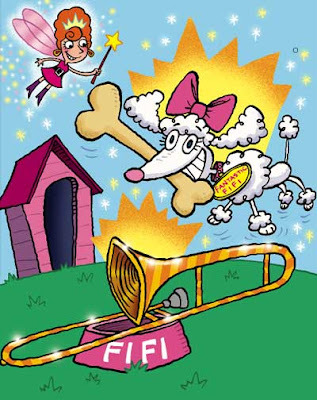
I think I will focus on page 9 as an example of my process. Page 9 has a poodle with a bone in her mouth and a striped trombone in her dish. These were put there by the fairy. I played a trombone in high school so I know how to fake a trombone pretty well. I think I draw a trombone better than I could play one. :0) So... I set around with lots of laser paper and a mechanical pencil and try to draw all the characters in the book. This takes a while, and usually happens in the evening while I "watch" whatever is on TV. TV is actuall a radio to me... I am pretty good at ignoring the picture and just listening. After lots and lots of doodling, I sort through all the sketches, find the poodles, and do a small but accurate drawing of the page.
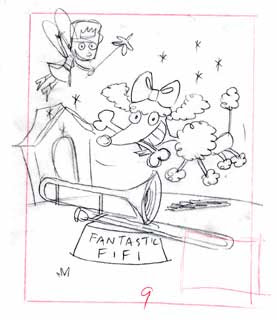
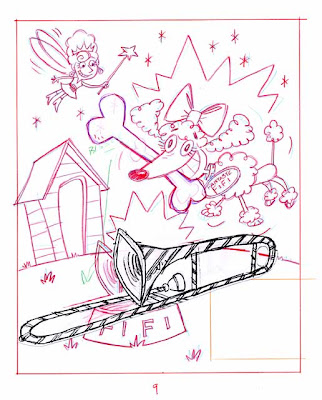
After I have worked out the drawings for all the pages, I then blow them all up to actual size. A few adjustments are made along the way, like I decided to turn the trombone around so the slide won't be covered up by a block of text that will appear in a box in the lower right corner. All the sketches are e-mailed as JPEGs and I wait for the inevitable corrections to come back. Usually they are not too bad and often are improvements to what I have done. On this page the suggestion was to make the bone and trombone larger. I erased (as you can see) the bone and made it bigger, but on the trombone I enlarged the sketch on my copy machine, cut out the larger version, and taped it down. (click to enlarge)
The drawing stage usually takes about a week for me to do. This is 14 pages. After approval of sketches I go to the second stage wich is inking, scanning and coloring. This part takes another week. For inking, I put a sheet of vellum over the sketch and make an inked drawing with a crow quill dip pen. Old school. :0)
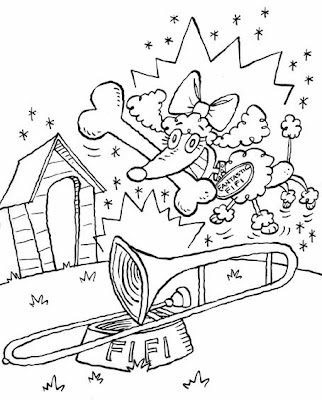
After all sketches are inked, I scan them as line art and color them with Photoshop 7. I refuse to upgrade. :0) I know just enough about Photoshop to be able to add color and create a few special effects. Color adds SO much to a drawing! Well, that's it! One book down... two more are waiting for me to do. One is due before Christmas and the other is due in early January. If you would like to see a step by step tutorial of how I color using Photoshop, just click on the "Photoshop tutorial" link under LABELS on my side bar. Thanks for stoppin by!

2 comments:
fantastic post! thanks for sharing. :)
Doug,
Now THAT is an awesome and insightful post. You're awesome.
Post a Comment