

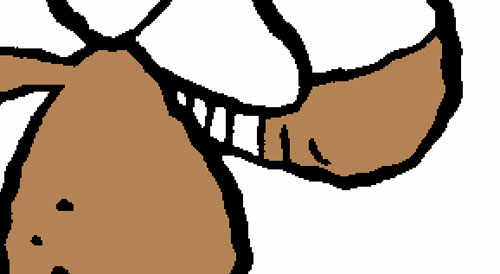
If you have some crosshatching or small shapes (like we see here) you can zoom in so you can get the paintbucket to fill the shapes. If you have LOTS of crosshatching, you can use the pencil tool and just color it in. This is the great thing about the layers you made. You may color over the black lines on the Paint layer, but on the Line layer they are still there! WOO HOO!
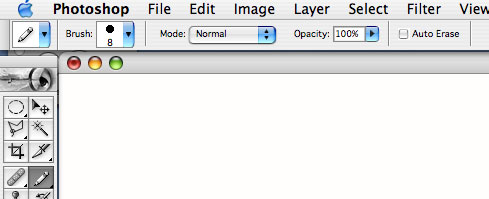
OK... let's say you have a shape and you didn't get it enclosed. Or... your inking style has lots of open spaces in it. Here is what to do. Get the pencil tool. Check to see that it's Mode is normal and the Opacity is 100%.
Now you have to dam up any openings in your shape, using the same color that you will fill it with. You can use the [ and ] (bracket) keys to make the pencil size larger or smaller. I am constantly zooming in and out and changing the brush size as I work. Here you see that I am "connecting the dots" to make sure my shape is enclosed. Then I can fill it with the paitbucket like the other shapes.

There we go! I have filled all the shapes with flat color in just a couple of minutes. Next we will look into adding some dimension to the flat color, using the pencil tool. Proceed directly to part 4. Do not pass GO... do not collect $200.

No comments:
Post a Comment