
Next, drag the paint layer to the "create new layer" icon to duplicate it. The copy will appear above the original layer.
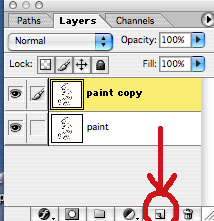
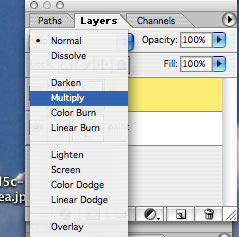
With the copy layer selected, find the mode (it will say Normal) and change it to Multiply. This will allow you to see through this layer as you paint on the layer under it. Double click on the words "Paint copy" and change the name to "Line"
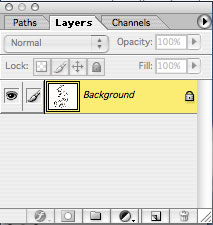
Now you have two layers. The top layer is your Line art in Multiply mode. The bottom layer is where you will paint. Make sure the bottom layer is selected. Whatever you do to your image will always be done on the layer that is selected.
 That wasn't too bad was it? It sounds more complicated that it really is. Now we are all ready to paint! Get a big bucket of water and your paint brush and meet me for Part 3.
No comments:
Post a Comment